Camp Snap Camera Review
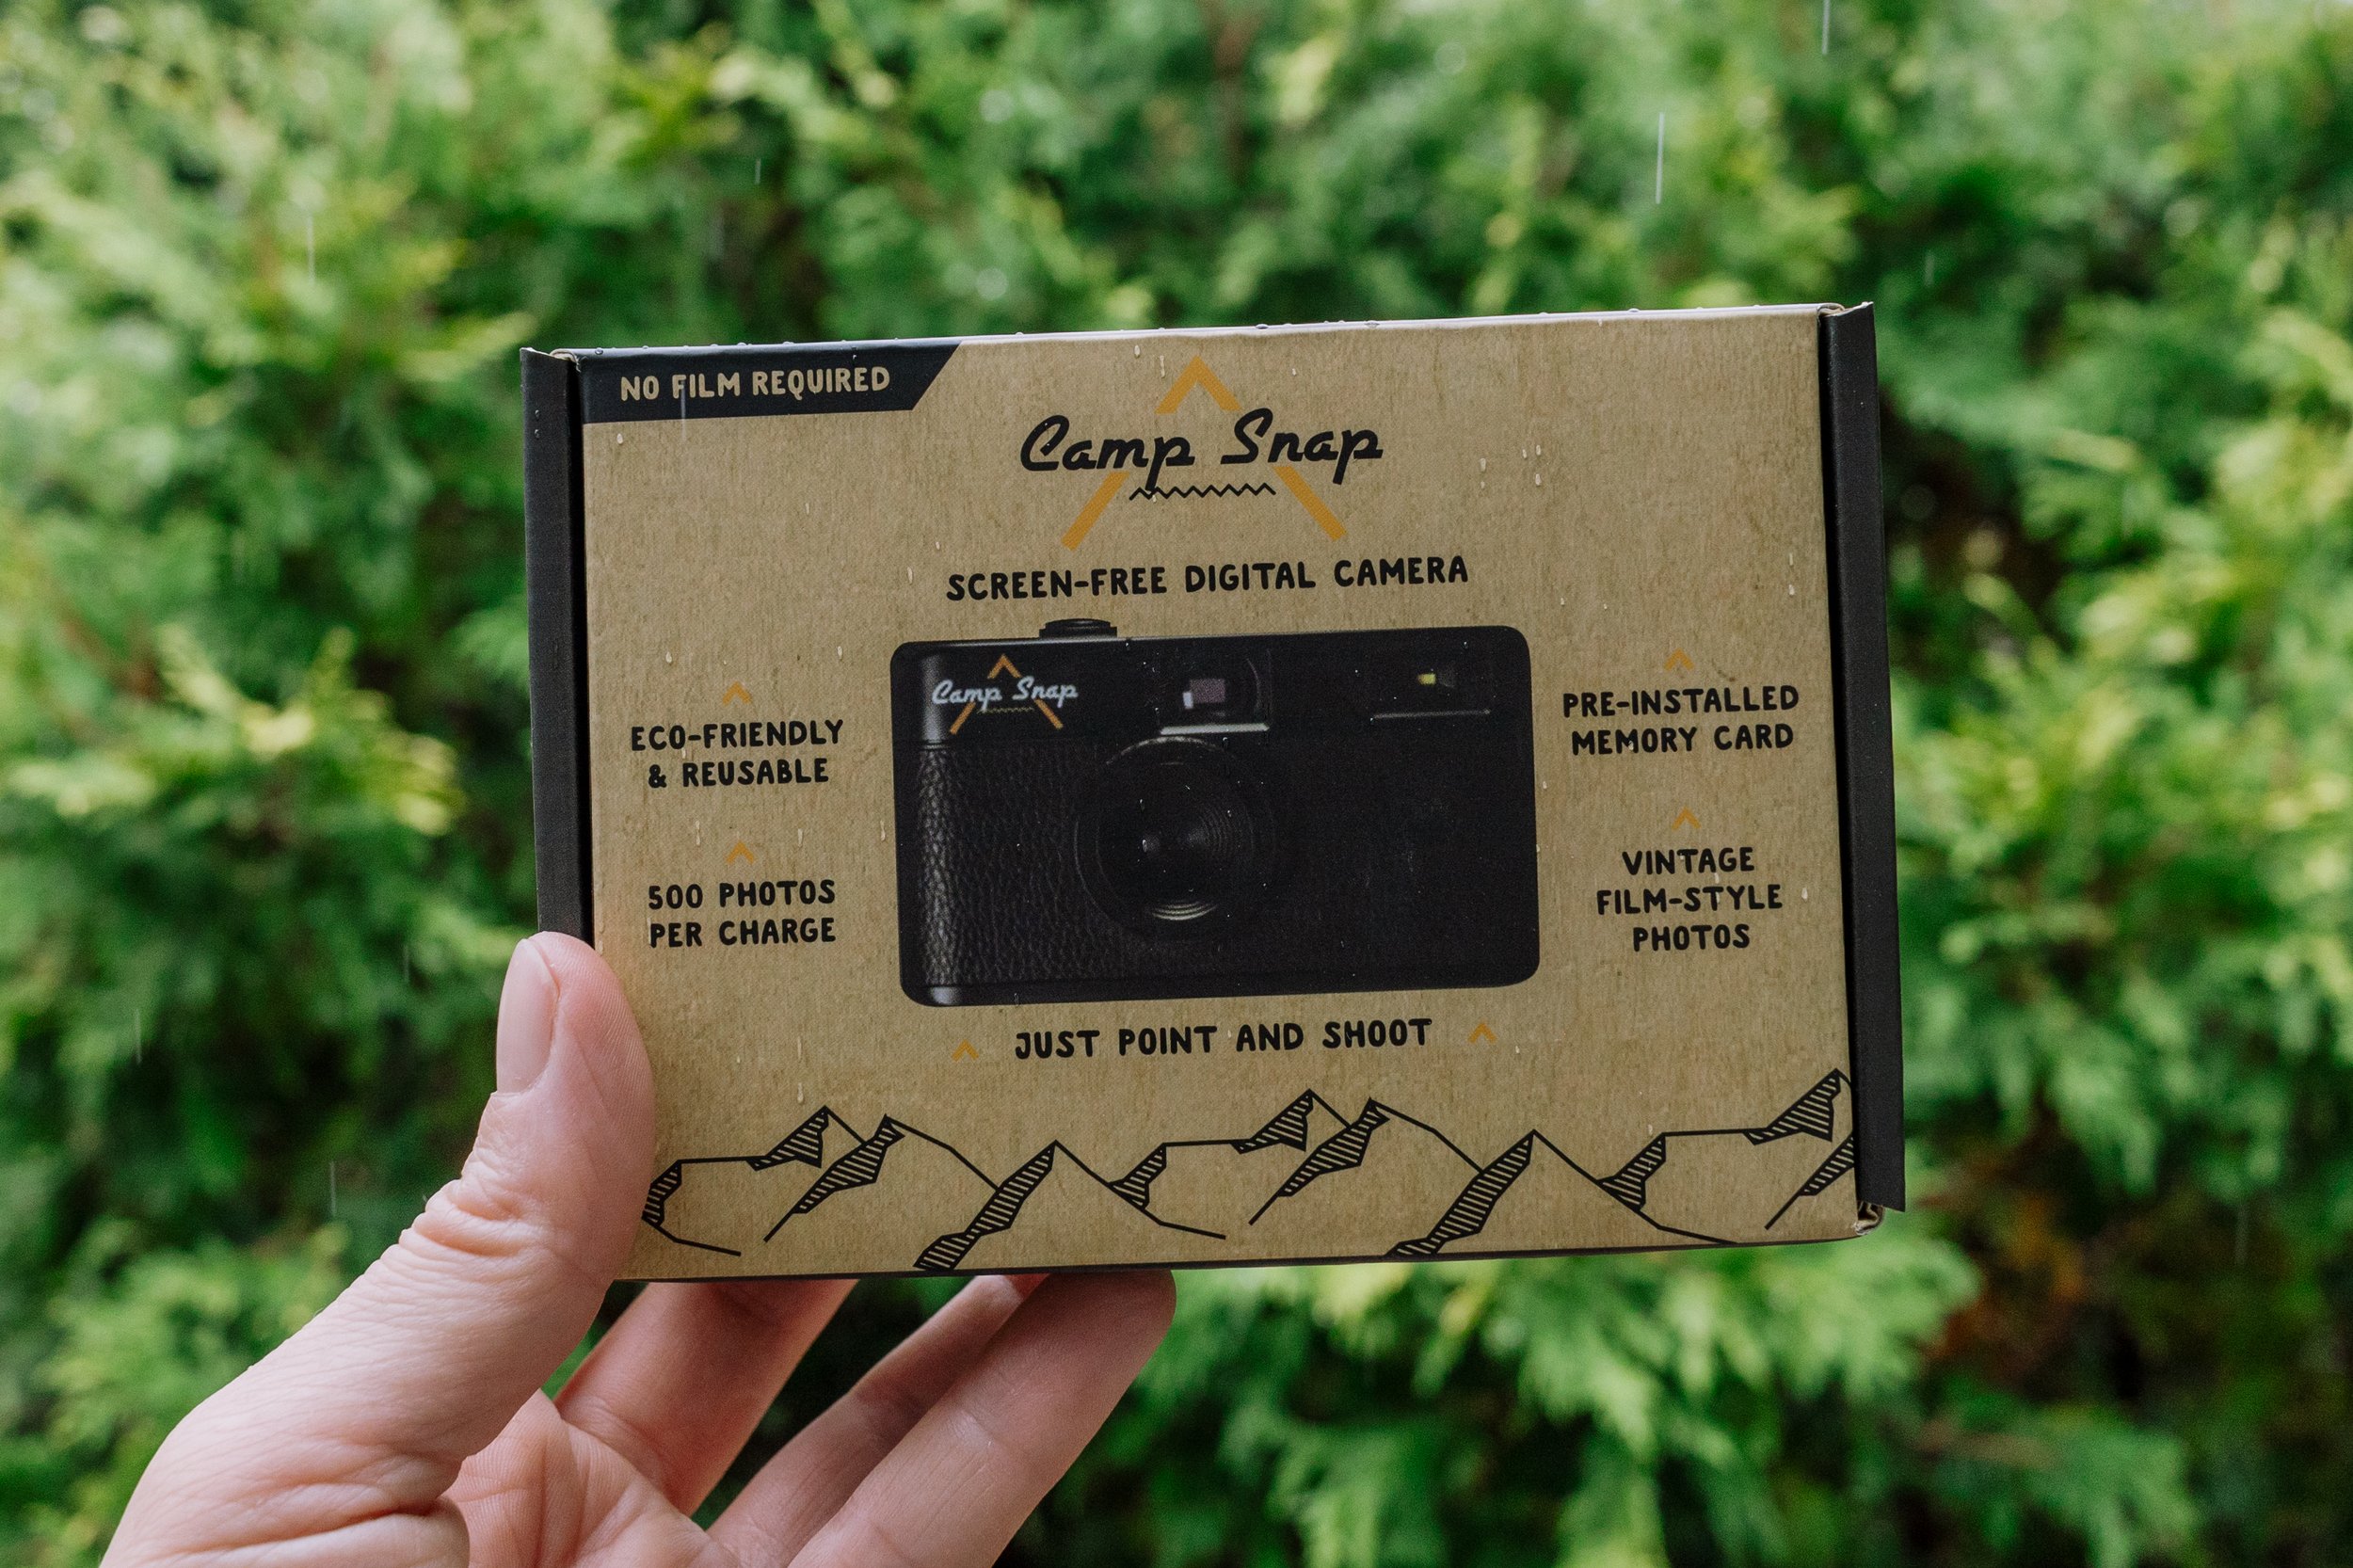
I recently purchased the Camp Snap camera V103. If you don’t know about this little camera, let me tell you, it is one of the best affordable cameras for capturing memories. This little digital camera has no screen!
What’s nice about having no screen is that it keeps you in the moment when you are photographing memories. There is nothing high-tech about this camera. It is a basic point-and-shoot that is similar to a disposable camera.
The Camp Snap camera comes with a built in memory card that holds up to 500 photographs. It comes with a small USB cord that you can use to plug into your computer to view the images and charge the camera. Note: it only captures JPG images.
I purchased the V103 for $65, its a very affordable camera to have around just for fun and to make memories, and its great for kids if they want to try out photography.
The filters do not come pre-loaded into the camera. On the Camp Snap website you can download three different types of filters (standard, black and white, or vintage).
If you are looking for specific instructions on how to install these files into your camera I will share them below (the manufacturer’s website did not have instructions on this - so I had to figure it out).
Camp Snap Photos
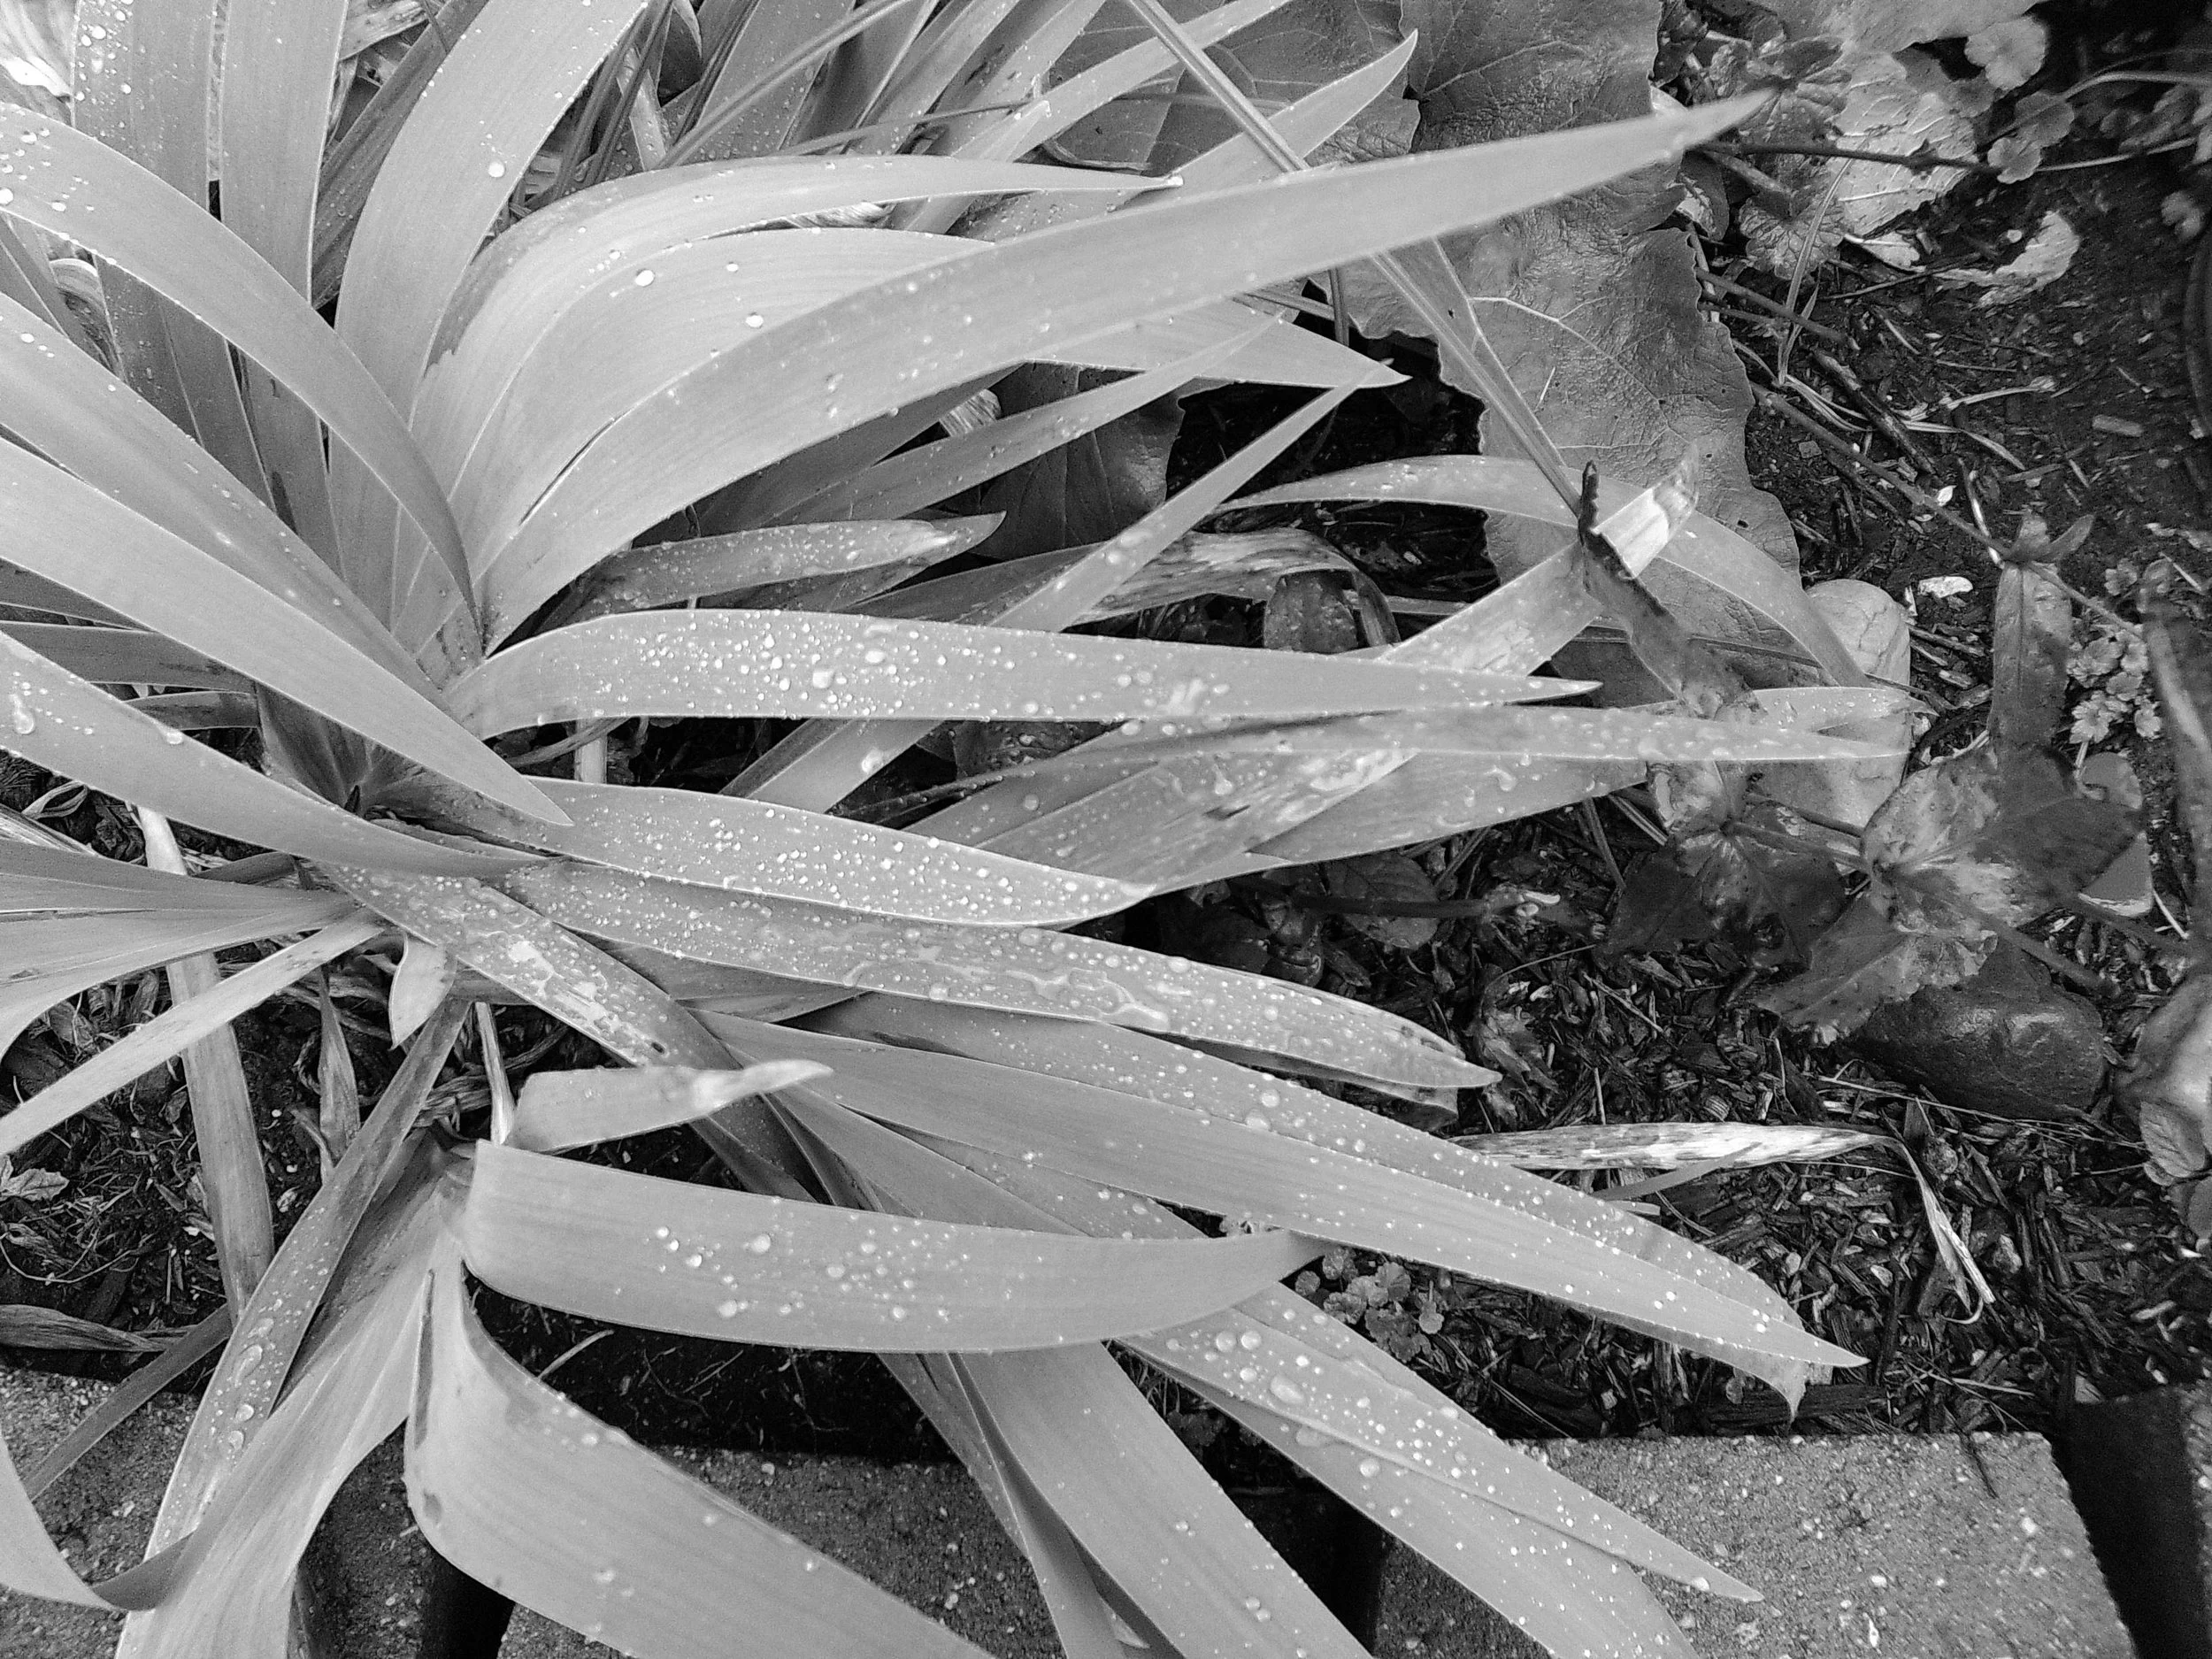
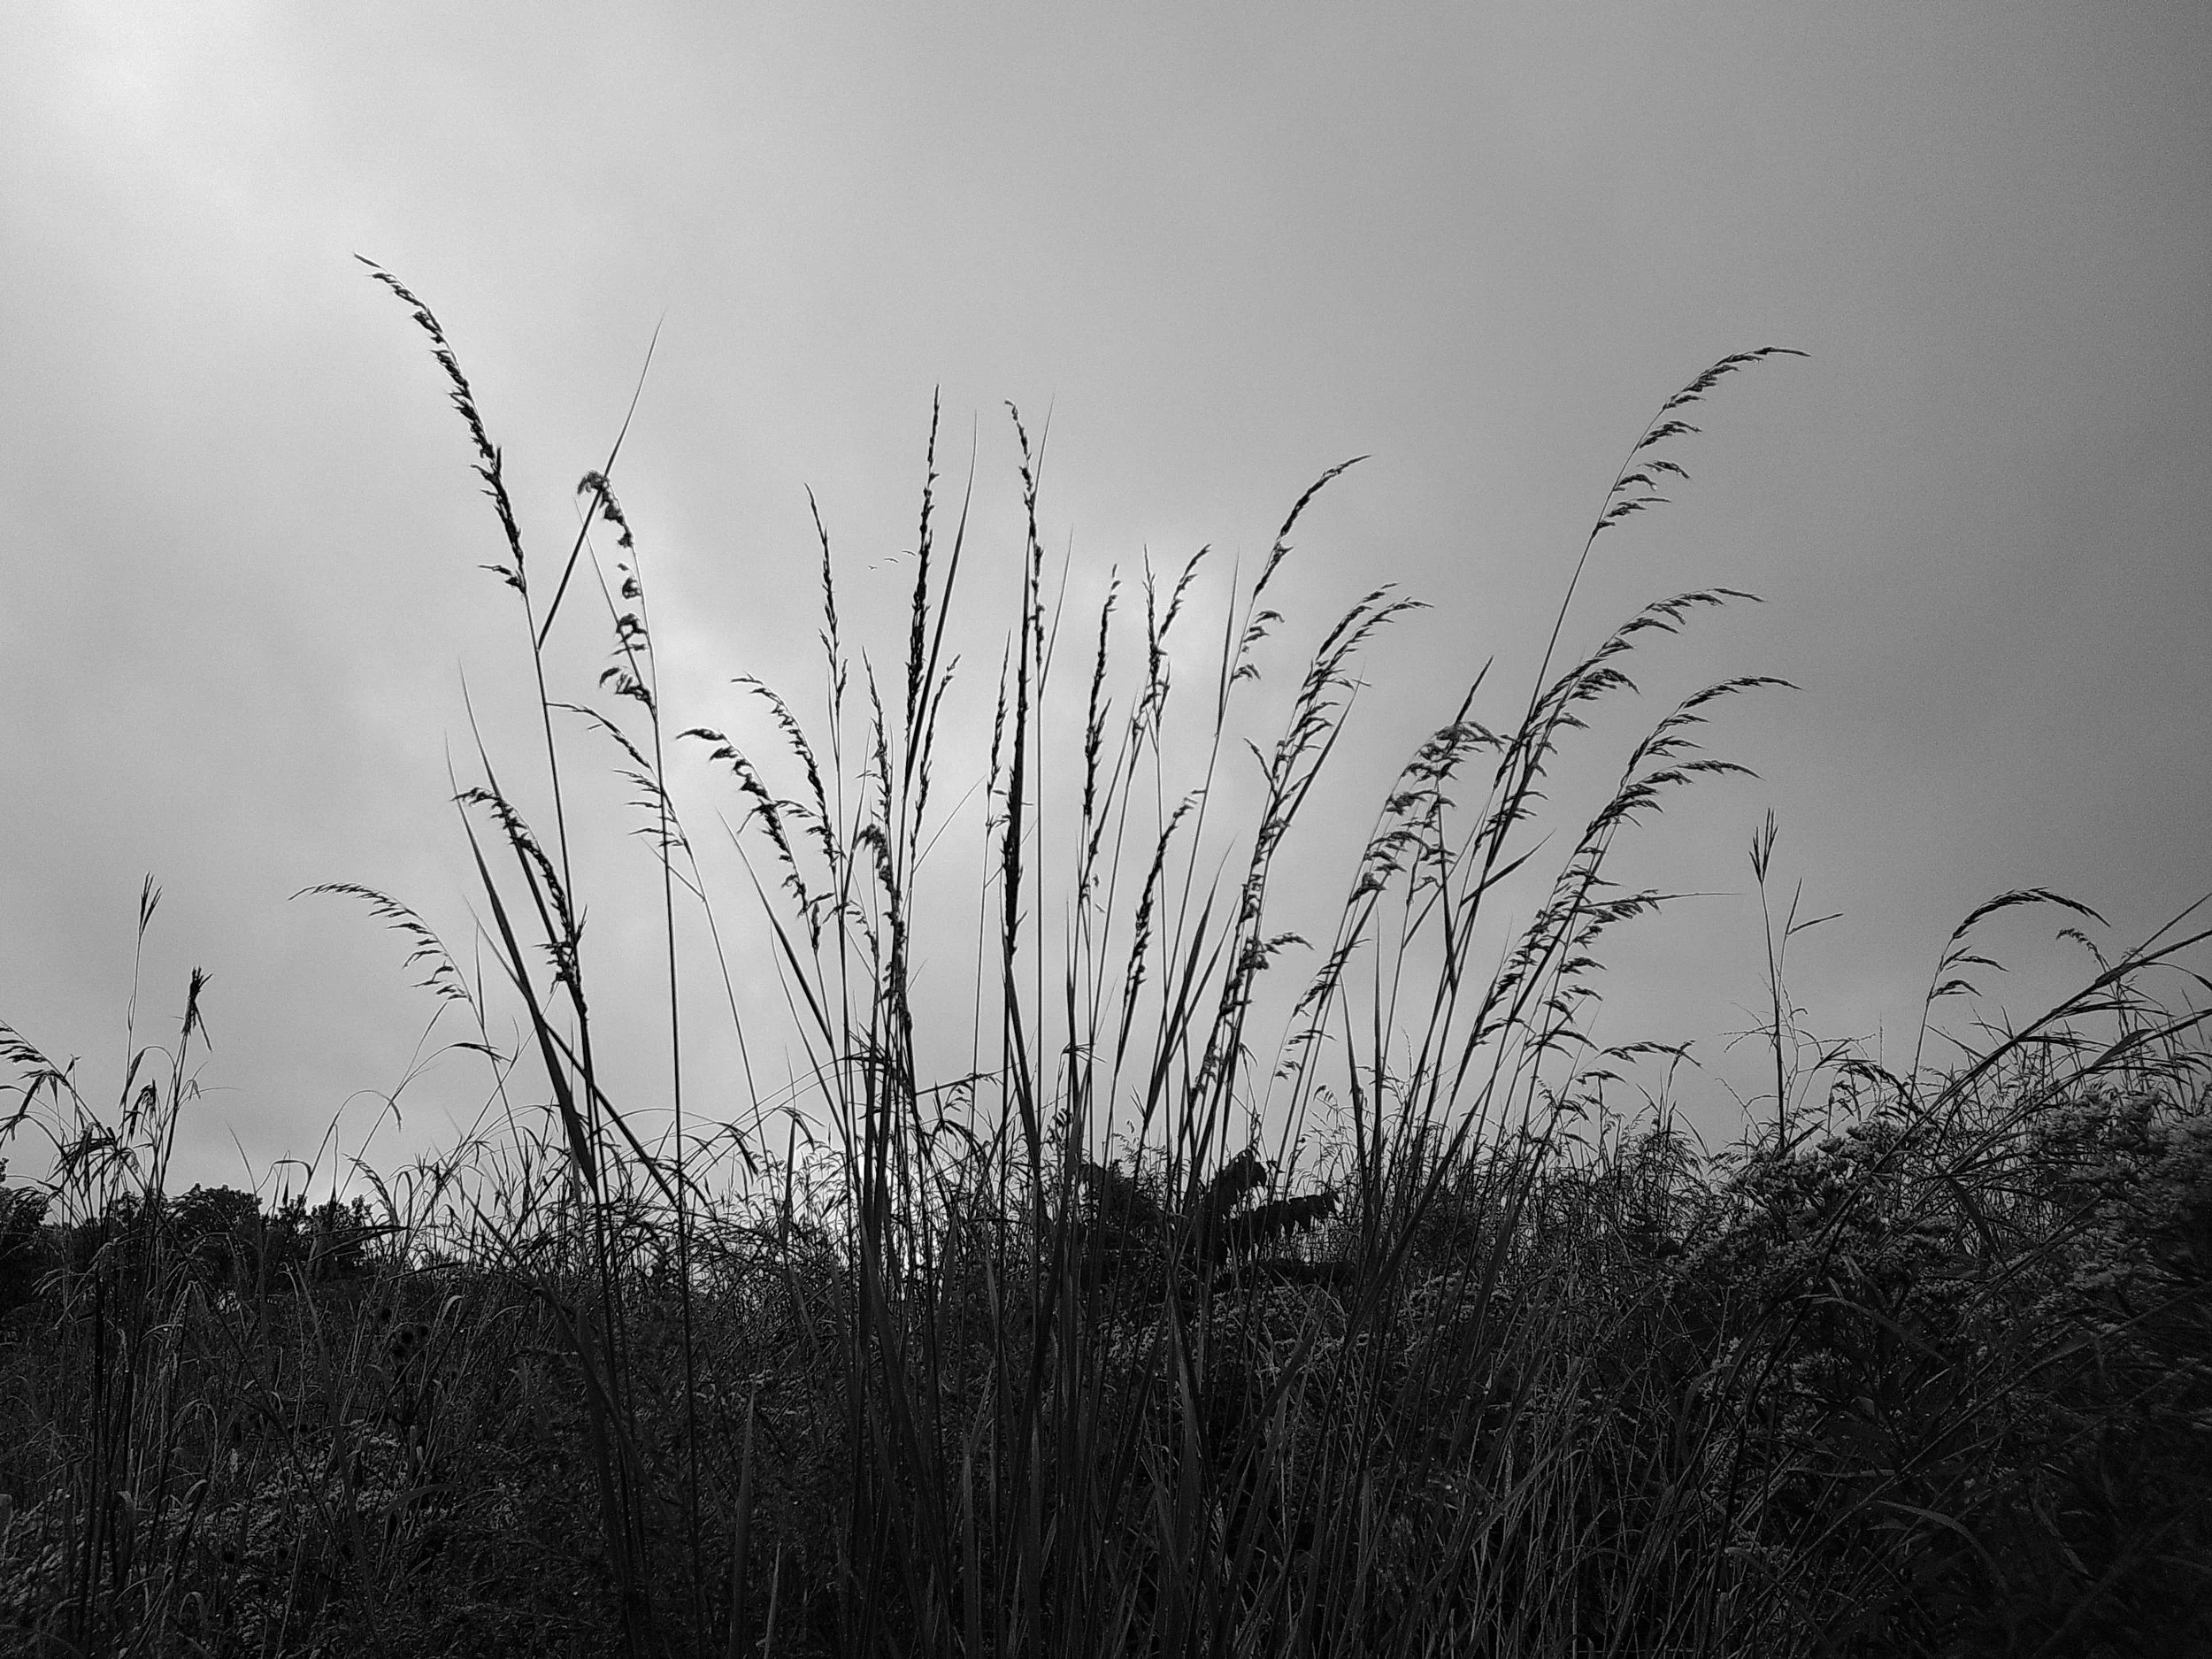
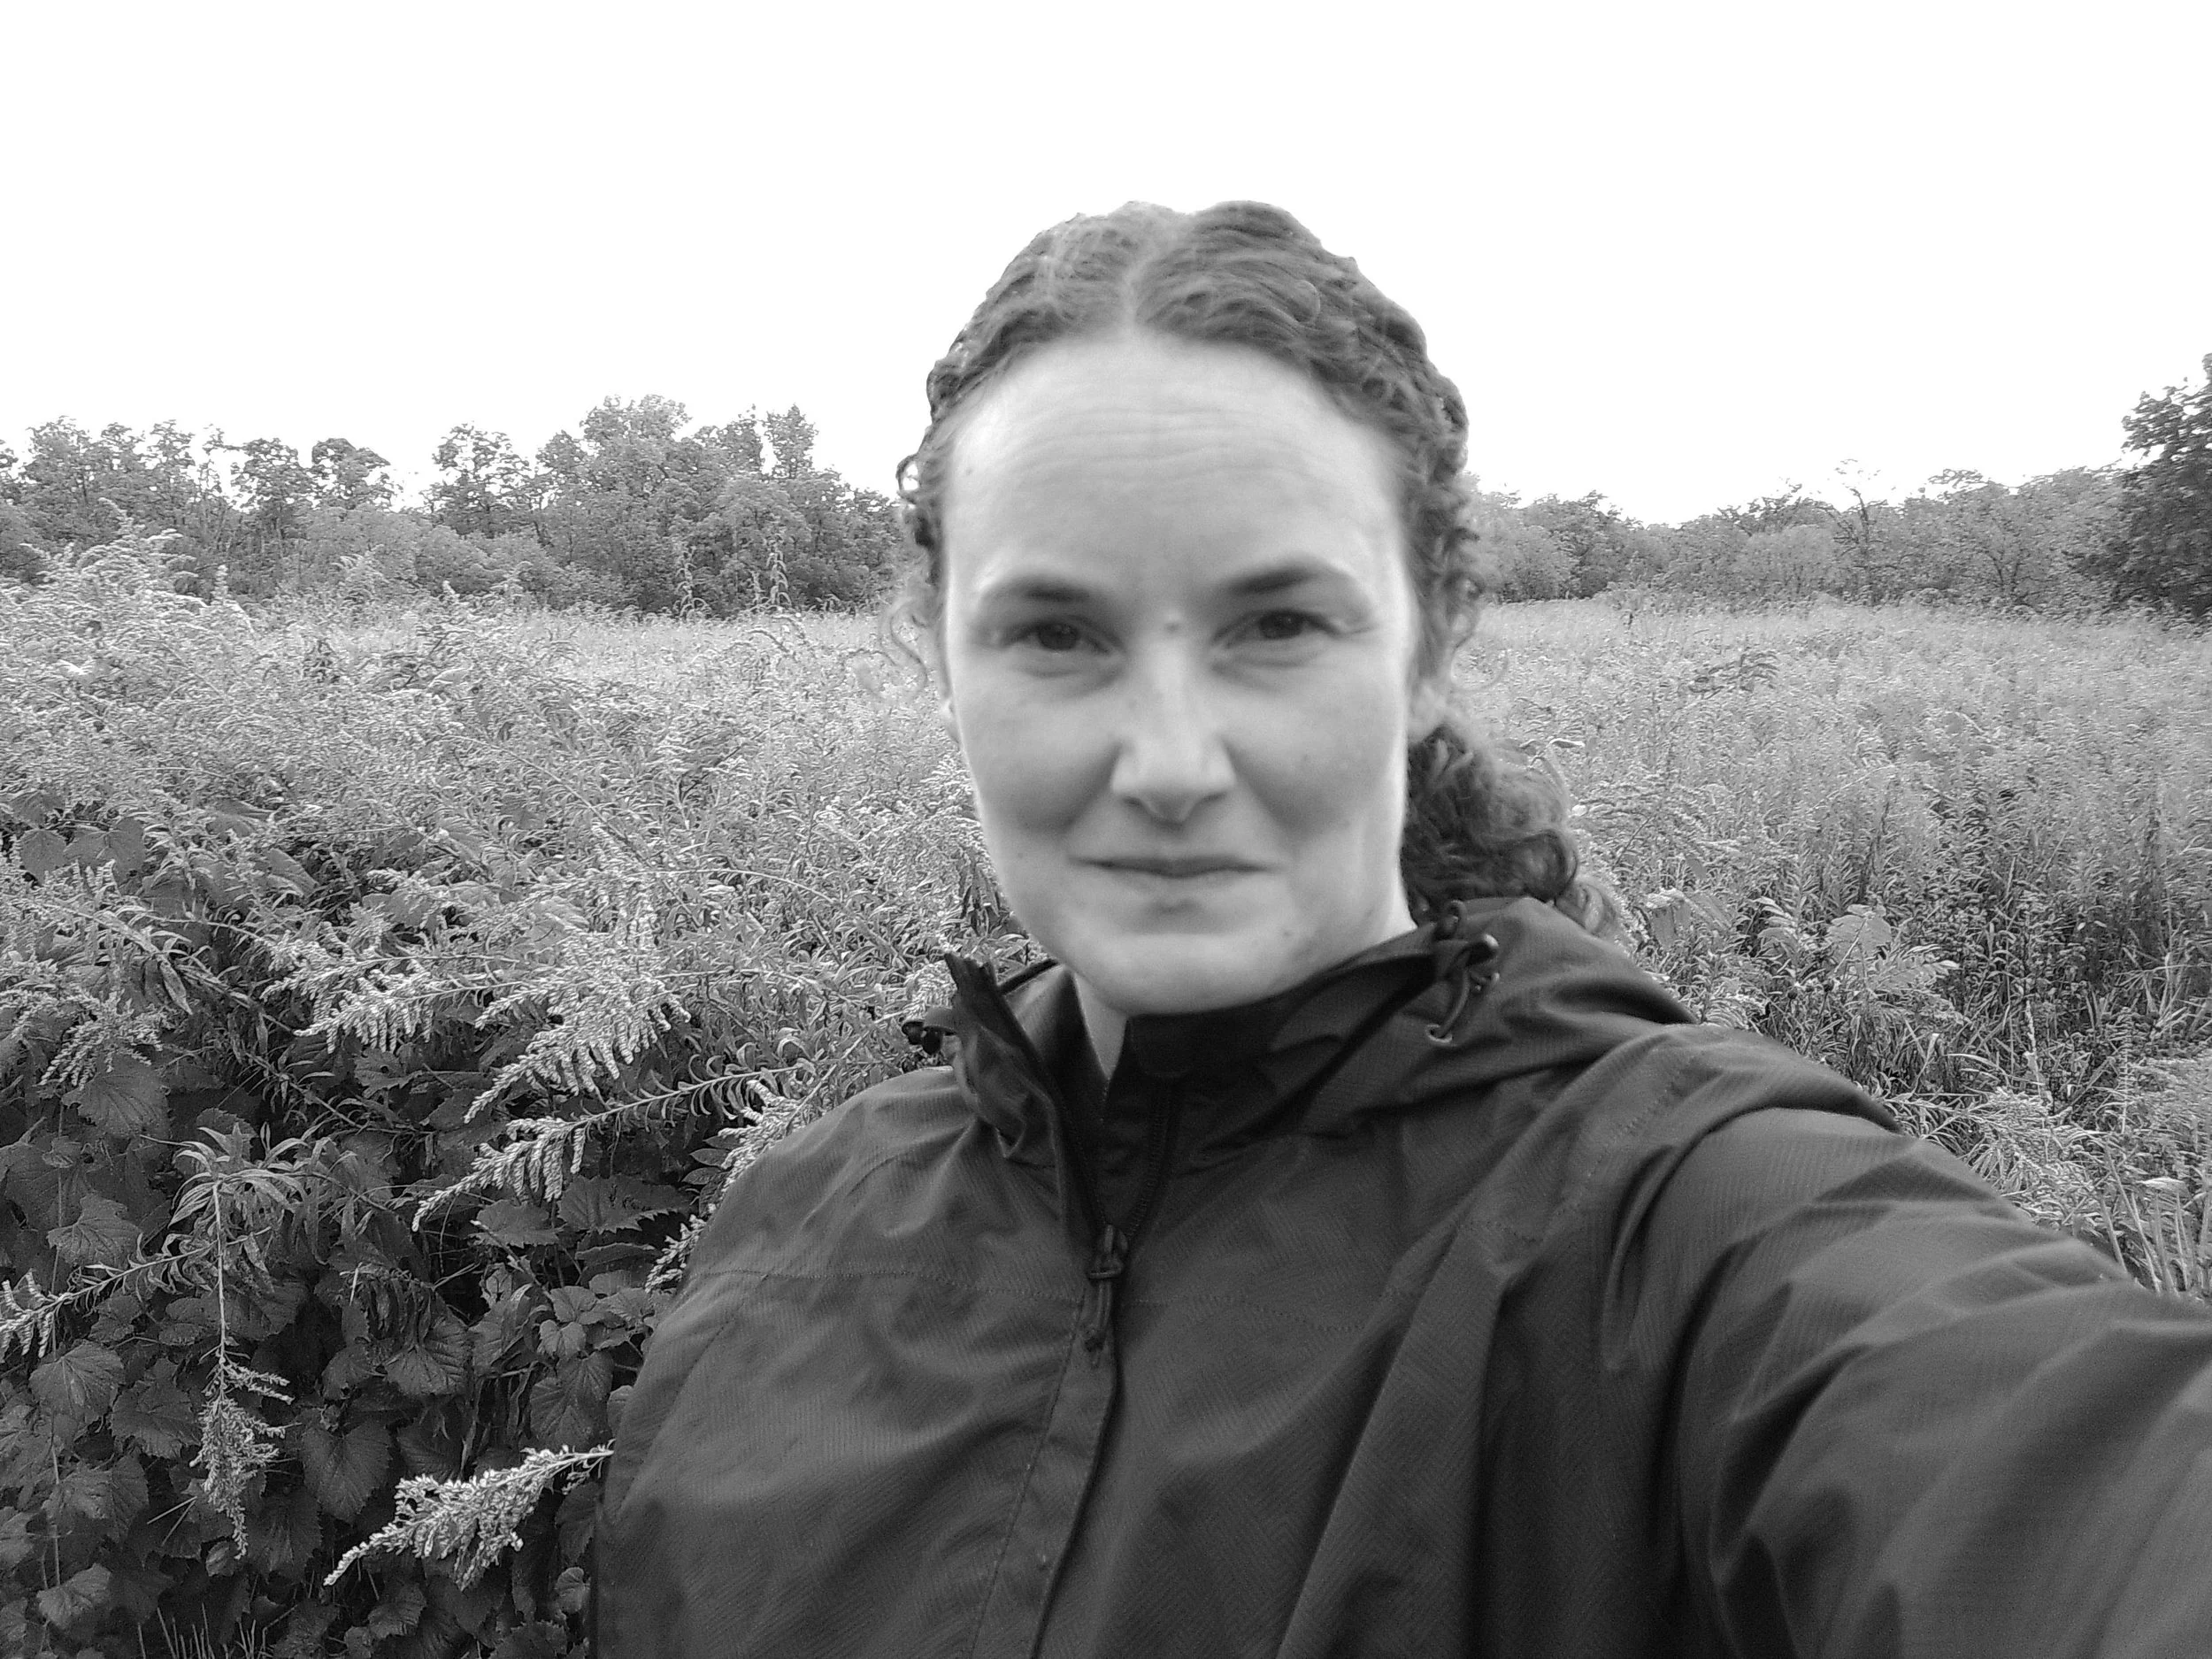
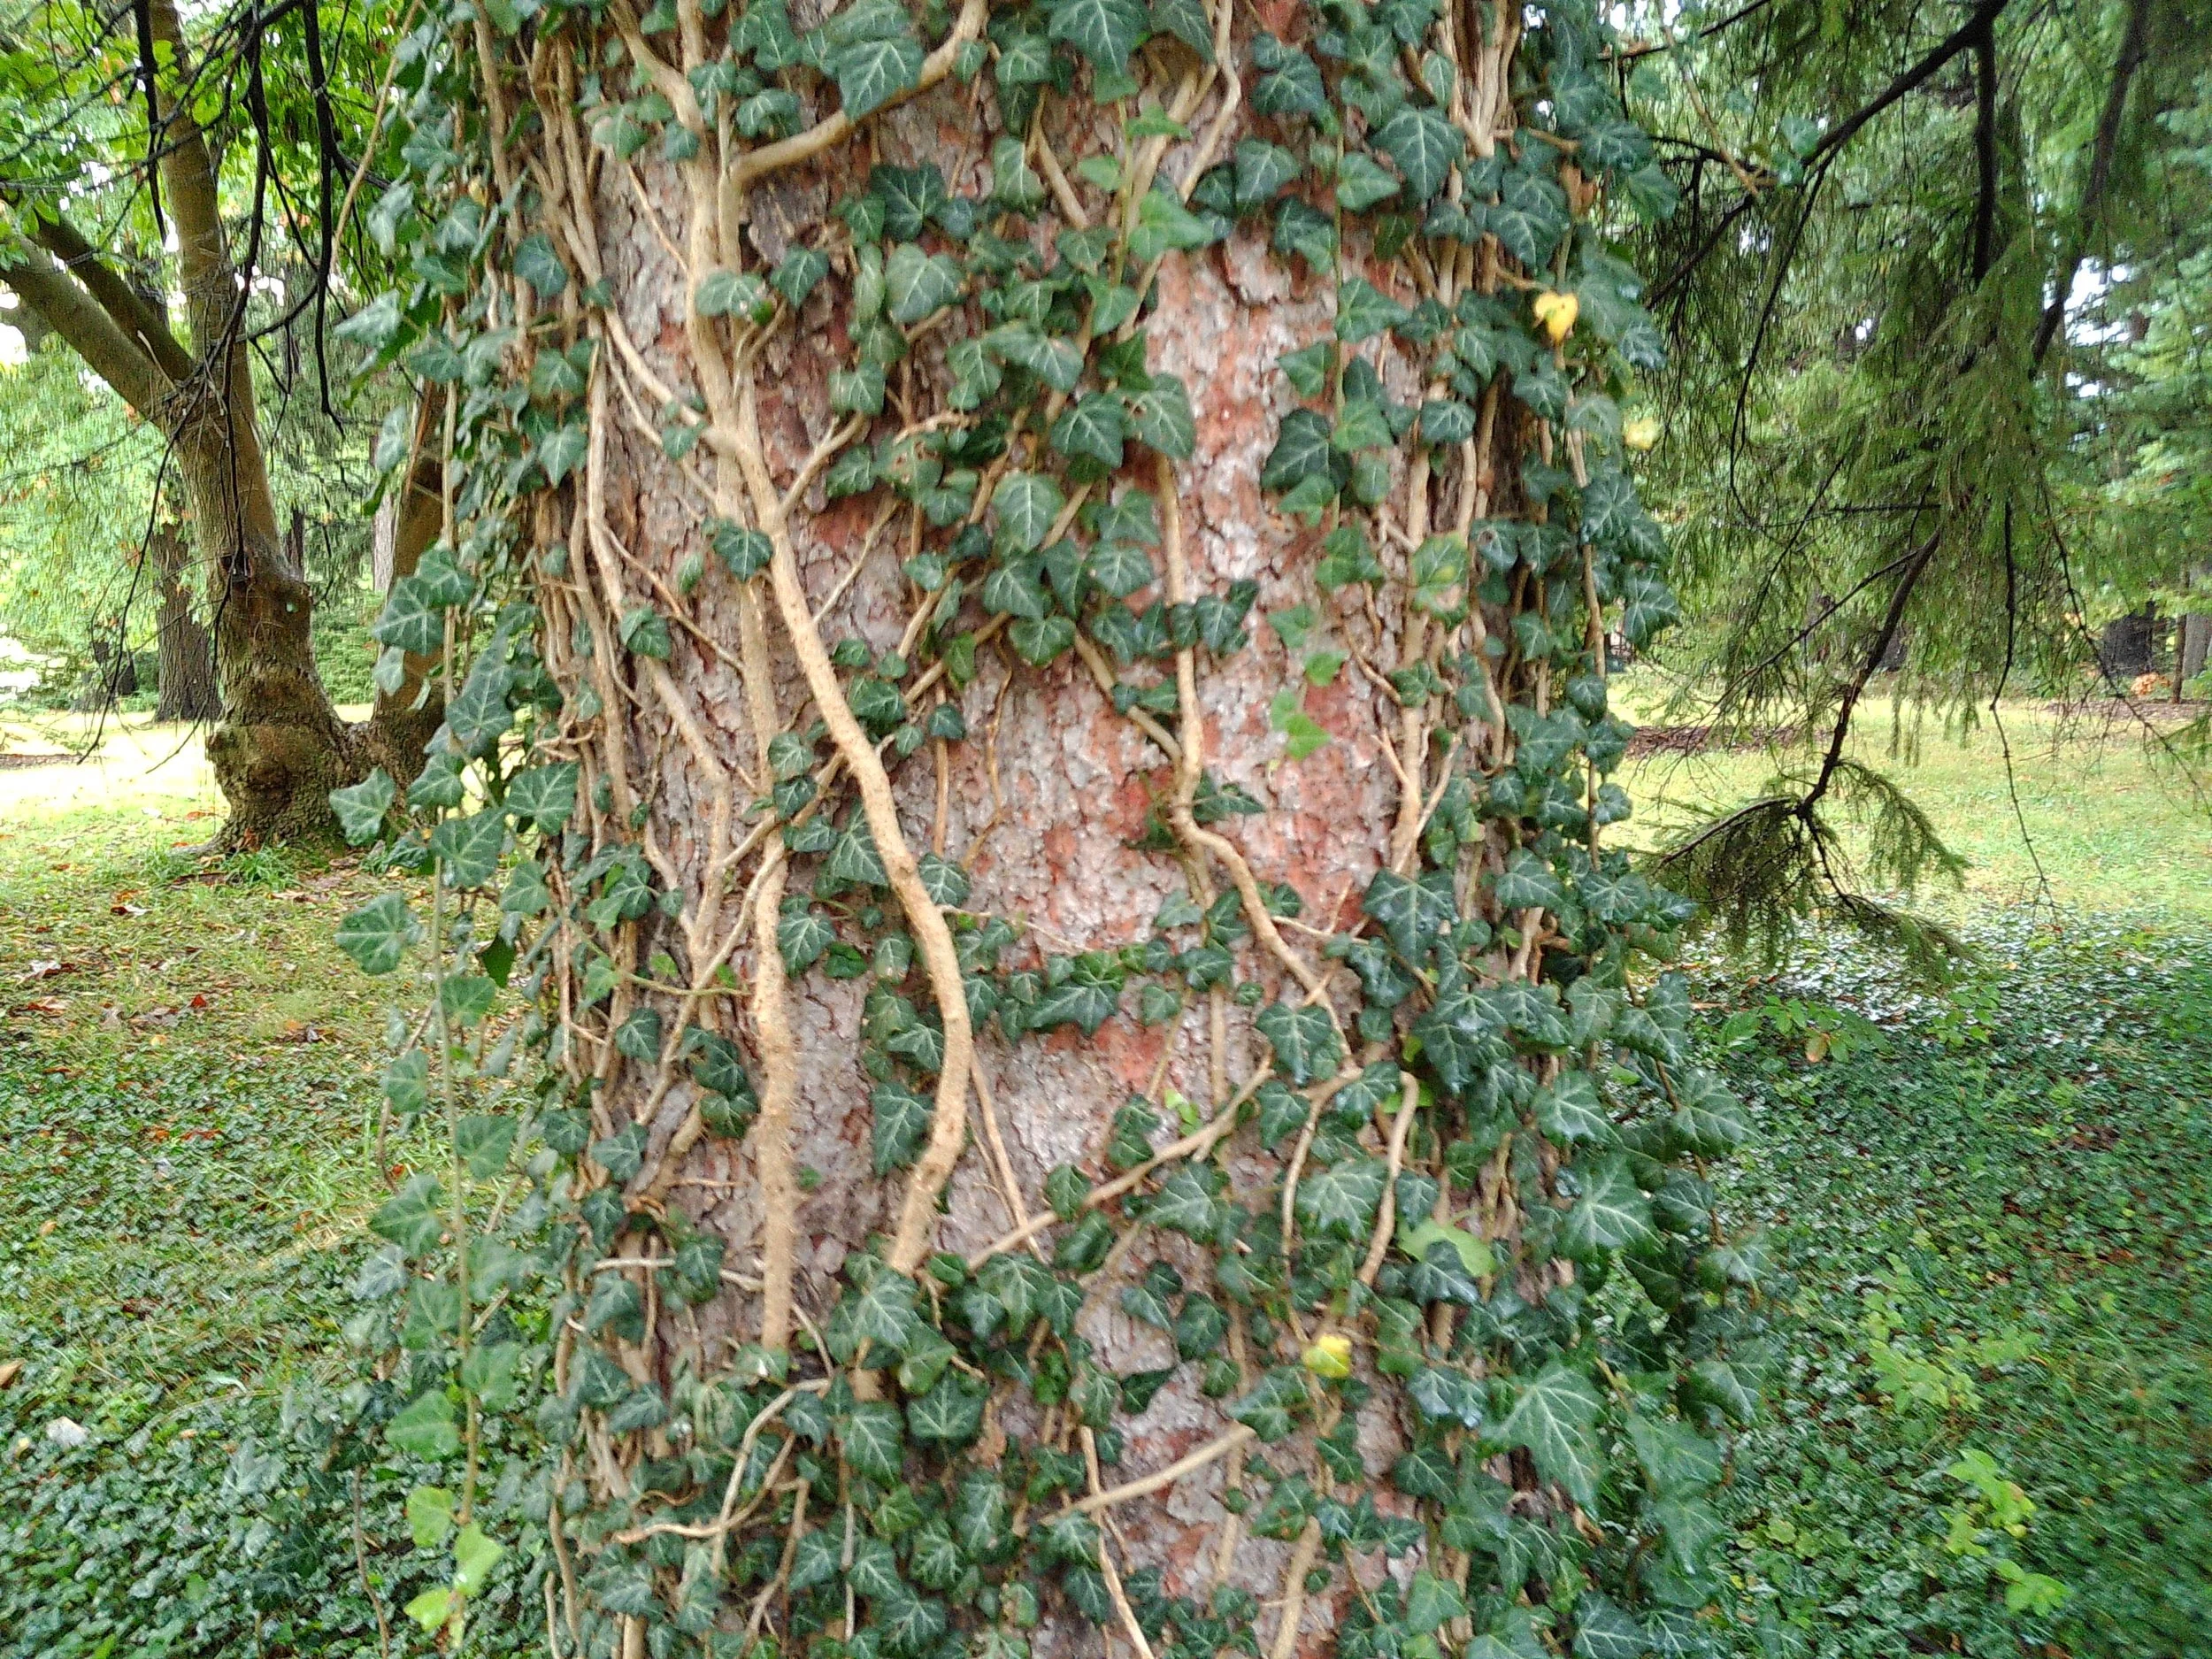
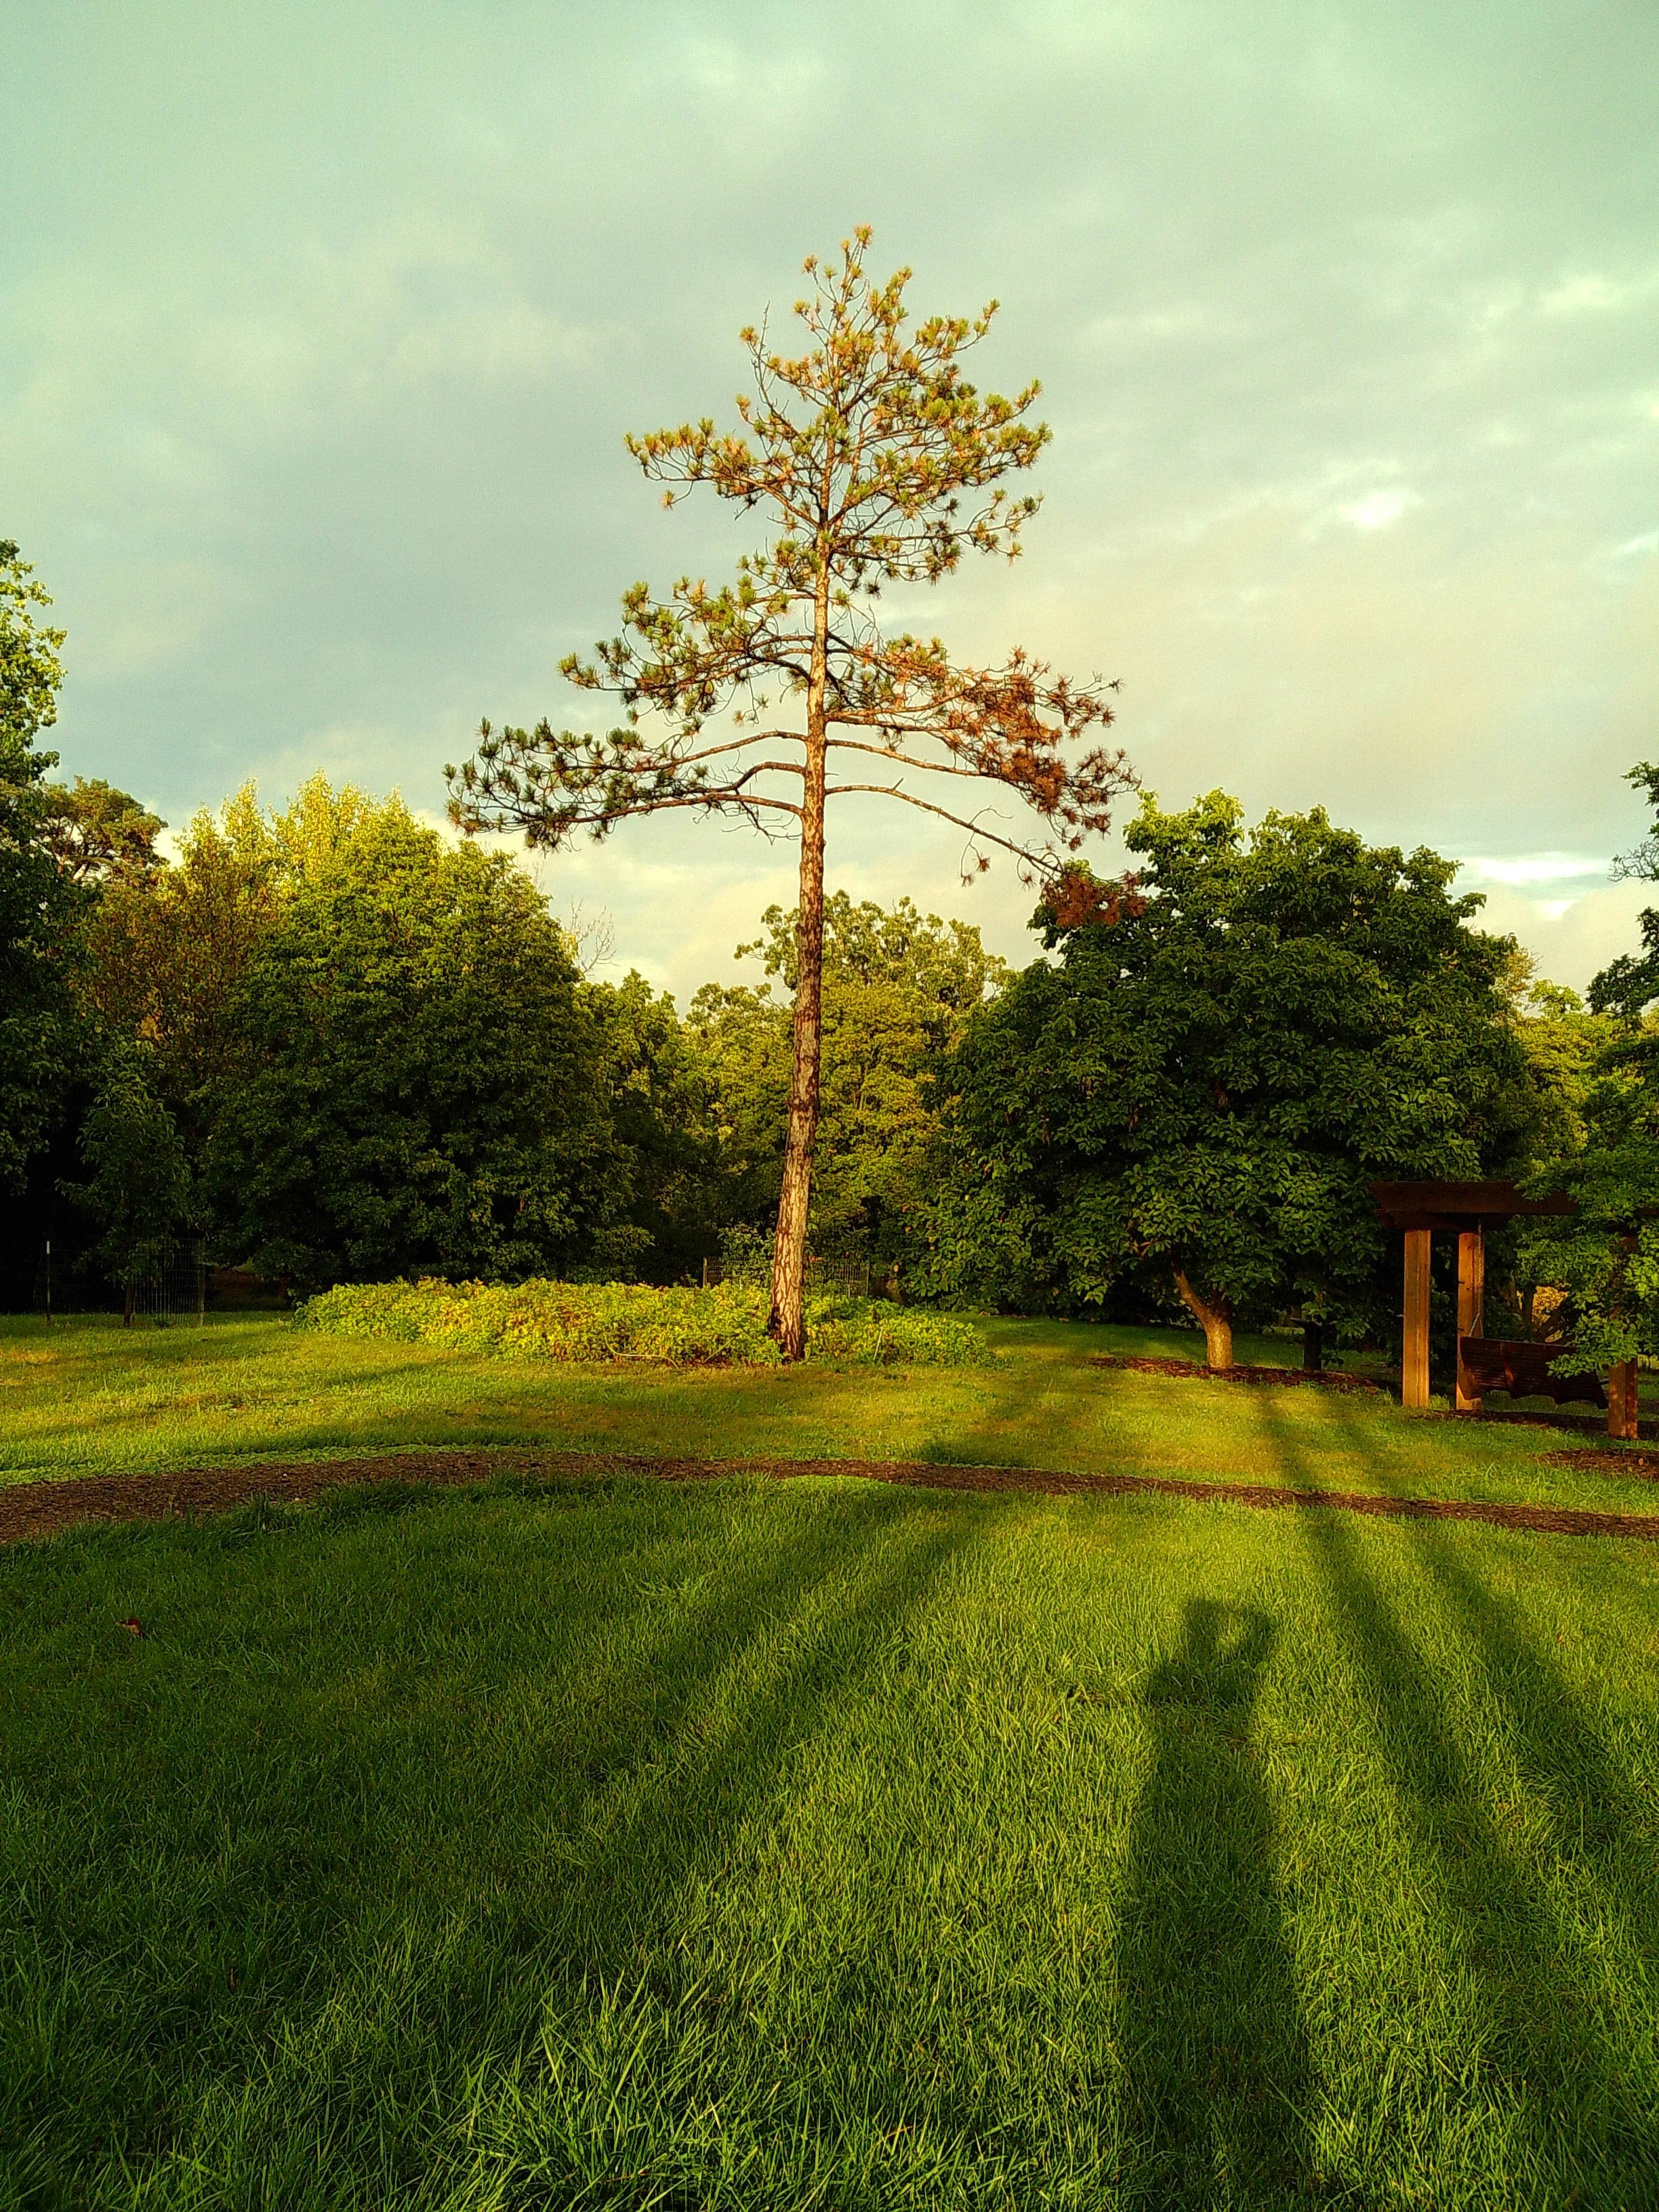
All of the photos captured here were not modified in post. This is how they came straight out of camera with the built in filter (vintage, and black and white examples are below).
The one thing about having a point and shoot like this, is that if you are planning to capture closeups, its just not going to work out. You have to be at least a few feet away from your subject for everything to come into focus.
At arm’s length, this selfie came out blurry. If I stretch my arm out a little bit further, I might get it in focus.
The old disposable cameras have a f-stop of 9 and 1/120 shutter speed. I would imagine that is probably the same with this. Its fun for making memories but you need to really stay still, and at the right distance, to make sure your subject is in focus.
Out of all the filters, the vintage has been my favorite. I love the look of color and how it just pops when you have a mix of shadows and highlights.
Would definitely recommend getting one of these just to document life and make memories. It’s nice having a camera dedicated to that, its not very costly - and it can fit in your pocket.
The Camp Snap Camera
How to Install Filters into your V103 Camp Snap Camera
The Camp Snap camera comes in a small box with some simple set up instructions. But it did not come with instructions on how to load their filter files into the camera. Here’s where you can find them, and how to upload them:
Visit the Camp Snap website support page and click on the type of camera you purchased.
Download the filter files that are .BRN files.
Copy one of the .BRN files into the root folder of your Camp Snap camera folder (to open this folder you will need to have the camera plugged into your computer). The root folder is the main folder - you want to make sure that your are not in the folder that stores the pictures, but the main folder before that.
Paste the .BRN file into the root folder (I found that it did not work for me copying all of the .BRN files over - so if I need to switch filters I would need to start this process all over again.).
Eject your Camp Snap camera from your computer.
Turn on your camera by holding down on the trigger. You should see on the back of the camera a display of lines on the screen - where it tells you how many pictures on your camera. Wait for the camera to turn off on its own.
Turn on the camera.
Take some photos! (The next time you plug your camera into your computer you will see that the filter has been updated).


